Lemon Lush Dessert: A Dreamy Layered Treat That Tastes Like Sunshine


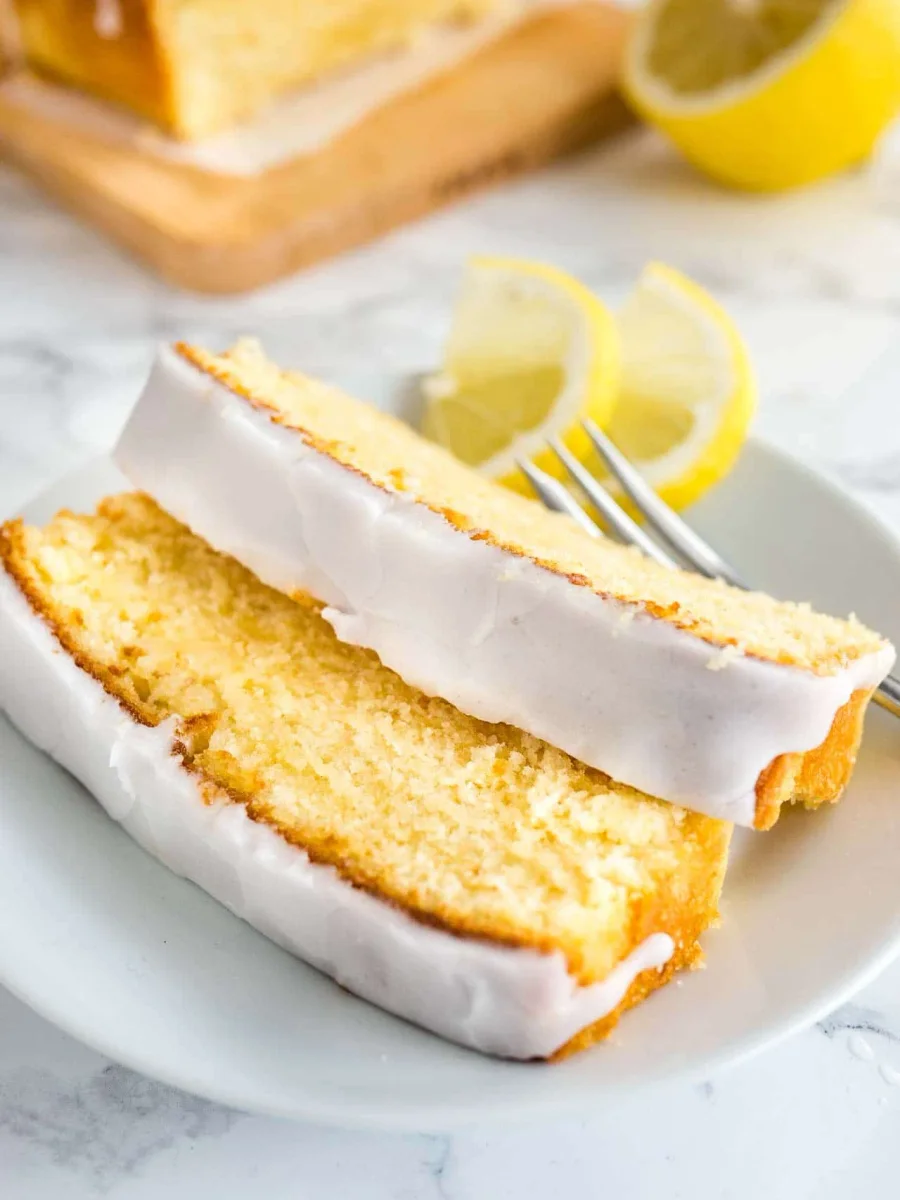
This Lemon Lush dessert truly captures the bright, sunny essence of lemon in a creamy, layered masterpiece. Its magic lies in the perfect harmony of textures, from the buttery pecan crust to the silky homemade lemon filling.
This vintage dessert holds up for a reason. It’s the kind of classic that feels both nostalgic and elegant, perfect for family gatherings or a special brunch.
The layers aren’t just for show. Each one brings something different: a nutty crunch, creamy richness, and that sharp, zesty lemon punch.
I always prefer making the lemon pudding from scratch. It just tastes brighter.
But if you’re in a hurry, I’ve included a box mix shortcut in the notes so you can still pull this off.
That pecan crust is everything. It uses melted butter and brown sugar for a tender yet sturdy base that won’t crumble under the weight of the creamy layers.
Next comes a smooth cream cheese mixture, rich but not heavy. Then the star: a vibrant, tangy lemon layer that balances everything.
A final crown of whipped cream wraps it all up like a perfect gift.
We love lemon desserts around here. If you do too, don’t miss our Sour Cream Lemon Pie, Lemon Cupcakes, or Luscious Lemon Layer Cake.


For the best texture, store your lemon lush dessert in the refrigerator, tightly covered with plastic wrap or an airtight lid. It will keep beautifully for up to 4 days.
This dessert also freezes exceptionally well. Place it in a freezer safe container for up to 3 months.
Thaw it completely in the refrigerator overnight before serving for the perfect creamy consistency.


Graham cracker is the classic swap. For a fun twist, try a lemon Oreo or golden Oreo crust. You will need about 36 cookies crushed and mixed with 6 Tablespoons of melted butter. Walnuts can stand in for pecans if that is what you have on hand.
Patience is key. Chill it thoroughly, for several hours or even overnight. Use a sharp knife and wipe it clean between each cut. For the cleanest results, run the blade under hot water first. I have to admit, mine never look perfect, but the taste makes up for any messy edges.
Yes, it is an excellent make ahead dessert. You can prepare it up to four days in advance and keep it covered in the refrigerator. It also freezes well. Just be sure to thaw it completely in the fridge before you plan to serve it.
Omit the nuts entirely for an allergy friendly version. Swap the homemade whipped cream for an equal amount of Cool Whip to save time. The entire recipe can also be halved and made in an 8×8 inch pan for a smaller gathering.
Nutrition info is automatically calculated as an estimate — actual values may vary. Always check your ingredient labels for the most accurate results!
Welcome to Tasty Fresh Recipes, your home for easy, healthy, and flavorful dishes.
© Tastyfreshrecipes.com • 2025 All rights reserved